So, the amount of force needed to remove thermostat housing bolt on the left, vs the bolt on the right ... not that much different. Left one is out. Right one is missing its head.
Why does this have to be so hard? What is the point of inventing Google if it can't even decode your manufacturing stamps on your transmission? My transmission has LOTS of numbers on it: the transmission body: AF 7006 D 21 the side-cover: AB 7222 B the tail: WAR 7651 A And would YOU like to guess how many of those YOU can use to look up which parts YOU might order for a rebuild kit? NONE of them. If you want to know where to buy parts to do a rebuild on the 3-speed, manual transmission in your 1962 Mercury Monterey 4-door sedan, you can go through the following steps: spend 45 minutes looking up numbers that are flat wrong because the pictures you have are just not very clear until you go outside and take more pictures check - and try not to transfer the oil to your face when you go back in - it causes your daughter / the project manager to ask questions that have no answer know a guy who just knows check - that didn't take long to find the answer was "nope" know a gu...
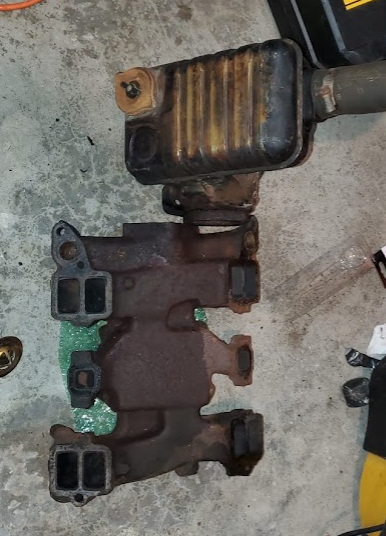
Sometimes when engineers are trying to make a car go faster they will shed weight. They trim unneccesary items. You would be surprised at how much acceleration you can get when you rip out extra stuff like carpet. Since I plan for this to be high performance 6-person sedan that weighs 2 tons, I set out to eliminate that unneccesary carpet. Besides, my garbage can was only half full this week. I put on my respirator and started to razor knife around the edges. After about 3 minutes I realized that the carpet was rotted enough that using a knife was too good for it. I just ripped it out and balled it up. I found a PCV valve under the front seat. I do not know what car that valve was for, but certainly not this one. This car's idea of positive crankcase ventilation is to suck air in via the oil fill tube and vent out from a habit-trail-like pipe that goes out the top of the valley, hooks a hard left and down under the firewall near the passenger's feet. It is called "road dra...
It was more like neatening than cleaning. Like what your kids do when they say they "cleaned their room" - stuff is no longer strewn around, but it is not really clean. The filth has just been hidden from view. When I started I pulled the drop cloth from under the car and found the penetrating oil I had sprayed into the cylinder heads. I believe when I loosened the head bolts it came out onto the floor. For those that wonder what kind of coverage 8oz of fine oil gives across a concrete floor - about 14 square feet. I need a better drop cloth than a used moving bag for a queen matress. I gave it a good dose of Zep, filled the mop bucket, and did my best to clean it up. While the floor dried, I pulled the last eletrical connection fron the block. There is hardly anything to this wiring harness. I will pull the starter solenoid too but I don't need to yank it to pull the engine and it is still tied to the spam-can sized voltage regulator on the front clip. I will get to it ...


Comments
Post a Comment